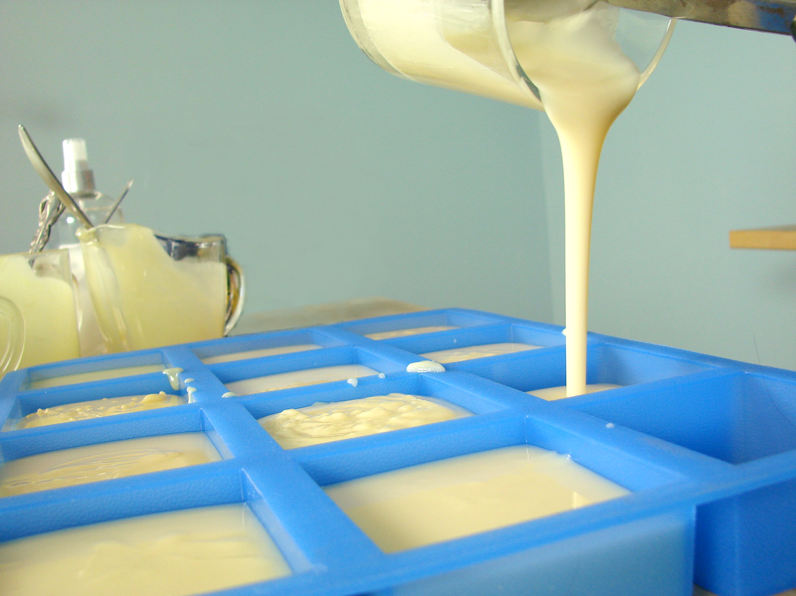
Pouring prepared soap recipe in the soap mould
Share
Prepare your soap base: according to the instructions, it can be cold processed soap or hot processed soap.
Prepare the silicone soap mould: Ensure that your silicone soap mould is clean and dry. If using a new mould, you may want to wash it with warm, soapy water and let it air dry before use.
Pour the soap mixture: Slowly pour the melted soap mixture into the cavities of the silicone mould. Fill each cavity to the desired level, leaving some space at the top for any additional design elements or toppings.
Tap out air bubbles: To eliminate any air bubbles trapped in the soap mixture, gently tap the mould against a counter or table. This will help the soap settle and create a smoother, more even surface.
Customize the soap (optional): If you wish to add any decorative elements to your soap, such as herbs, flowers, or embeds, gently press them into the soap mixture at this stage.
Allow the soap to set: Place the filled silicone soap mould in a cool, well-ventilated area to allow the soap to harden and set completely. The time required for the soap to firm up will depend on the specific type of soap base and the room temperature.
Un-mould the soap: Once the soap is fully set and hardened, gently flex the sides of the silicone mould to release the soap. You may need to lightly press or squeeze the bottom of the mould to help release the soap from the cavities.
Final touches (optional): If desired, trim any excess soap edges or smooth out any imperfections using a knife or a soap trimmer. Decorate the soap further with additional details like soap stamps, mica powder, or glitter.
